
官网地址:GitLab.com · GitLab

什么是Gitlab?
GitLab 是一个用于仓库管理系统的开源项目,使用Git作为代码管理工具,并在此基础上搭建起来的web服务。
这样理解吧!就是 github 个人版
Gitlab 安装
参考视频:
java教程手把手教你Jenkins从环境配置到项目开发_哔哩哔哩 (゜-゜)つロ 干杯~-bilibili
声明:Gitlab 会占用很多的内存 请保证4G 以上内存机器
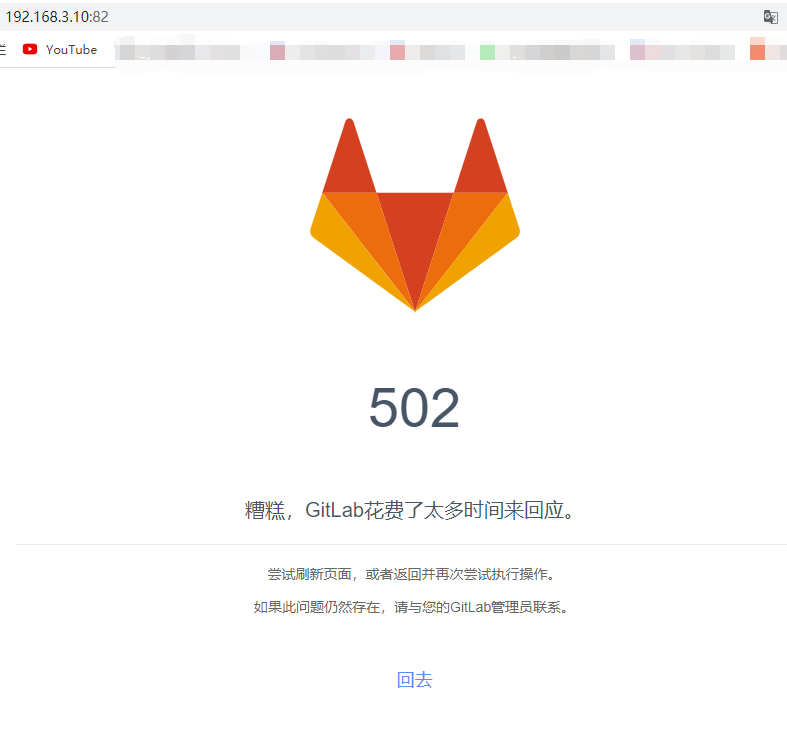
如果内存不够,会提示你,gitlab 用了很长时间去相应你,报错,所以,为了更好的使用,请前往修改gitlab 响应时间,或者直接满足gitlab 内存使用。排除gitlab 服务器报错外,即使启动gitlab 也不会立即能够登录访问,多刷新几次,前提是排除服务器日志 不报错!

安装
1. 安装相关依赖
yum -y install policycoreutils openssh-server openssh-clients postfifix2. 启动ssh服务&设置为开机启动
systemctl enable sshd && sudo systemctl start sshd 3. 设置postfifix开机自启,并启动,postfifix支持gitlab发信功能
systemctl enable postfifix && systemctl start postfifix4. 开放ssh以及http服务,然后重新加载防火墙列表
fifirewall-cmd --add-service=ssh --permanent fifirewall-cmd --add-service=http --permanent fifirewall-cmd --reload 如果关闭防火墙就不需要做以上配置
5. 去清华仓库下载gitlab CE包,下载gitlab EE包 并且安装 在线下载安装包:
说明 下载过程中看到不同包EL6、EL7、EL8
EL是Red Hat E nterprise L inux(EL)的缩写。
- EL6是Red Hat 6.x,CentOS 6.x和CloudLinux 6.x的下载。
- EL5是Red Hat 5.x,CentOS 5.x和CloudLinux 5.x的下载。
- EL7是Red Hat 7.x,CentOS 7.x和CloudLinux 7.x的下载。

切记下载自己系统对应的版本!!!
CE 官方社区版、EE 企业版本
wget 这里填下载链接 (建议下载到windows 在上传到linux上)安装
rpm -i 下载的文件名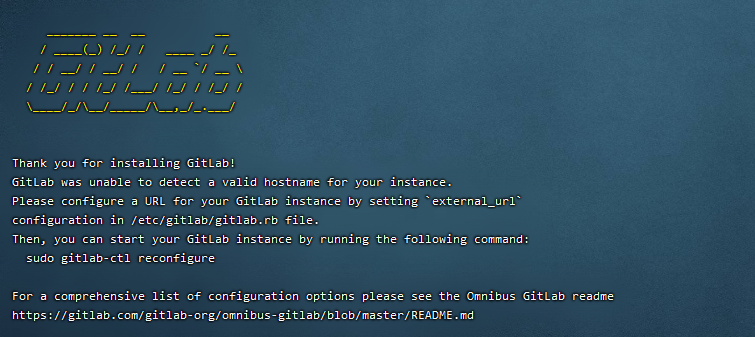
6. 修改gitlab配置
vi /etc/gitlab/gitlab.rb 修改gitlab访问地址:external_url
external_url 'http://192.168.66.100:82'端口:nginx['listen_port'] 默认为80,我们改为82 这里不能跟常用端口重合,可能存在占用情况。导致gitlab 打不开
nginx['listen_port'] = 827. 重载配置及启动 这里会浪费很久时间 耐心等待
gitlab-ctl reconfigure // 这里执行有点慢,多等一会
# 重启gitlab
> gitlab-ctl restart

# 停止gitlab
> gitlab-ctl stop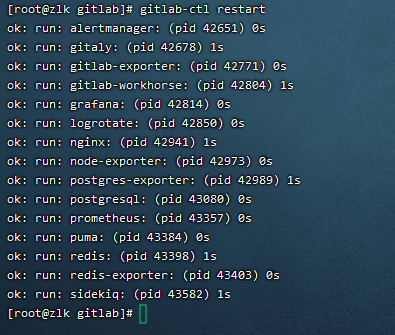
查看 gitlab 的状态
# 查看 gitlab 的状态
> gitlab-ctl status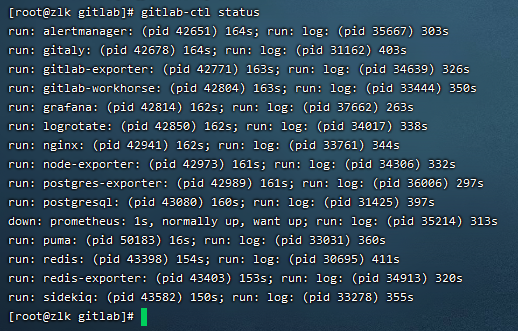
8. 把端口添加到防火墙
# 开放我们配置的82 端口 用于 http 的访问
> firewall-cmd --zone=public --add-port=82/tcp --permanent

# 重启防火墙
> firewall-cmd --reload
9.Gitlab自启
# 禁止 Gitlab 开机自启动:
> systemctl disable gitlab-runsvdir.service

# 启用 Gitlab 开机自启动:
> enable gitlab-runsvdir.service
如何使用?
服务器器的IP:82 就可以访问了
第一次启动 建议等待10分钟 再访问 不然 你访问错误 是因为 安装执行没有执行完毕导致的!!!
查看gitlab日志 ,发现错误日志 直接Ctrl + C结束日志输出 方便复制报错信息
# 查看gitlab日志
> sudo gitlab-ctl tail
结束查看日志
Ctrl + C
我这里是宝塔放置的 WordPress,所以把他卸载了。同时,记得关闭宝塔的Nginx,他比较流氓,必须卸载!关了会自启。当你去重启gitlab的时候,还是被宝塔占用。所以,直接卸载宝塔的Nginx。
访问 服务器器的IP:82
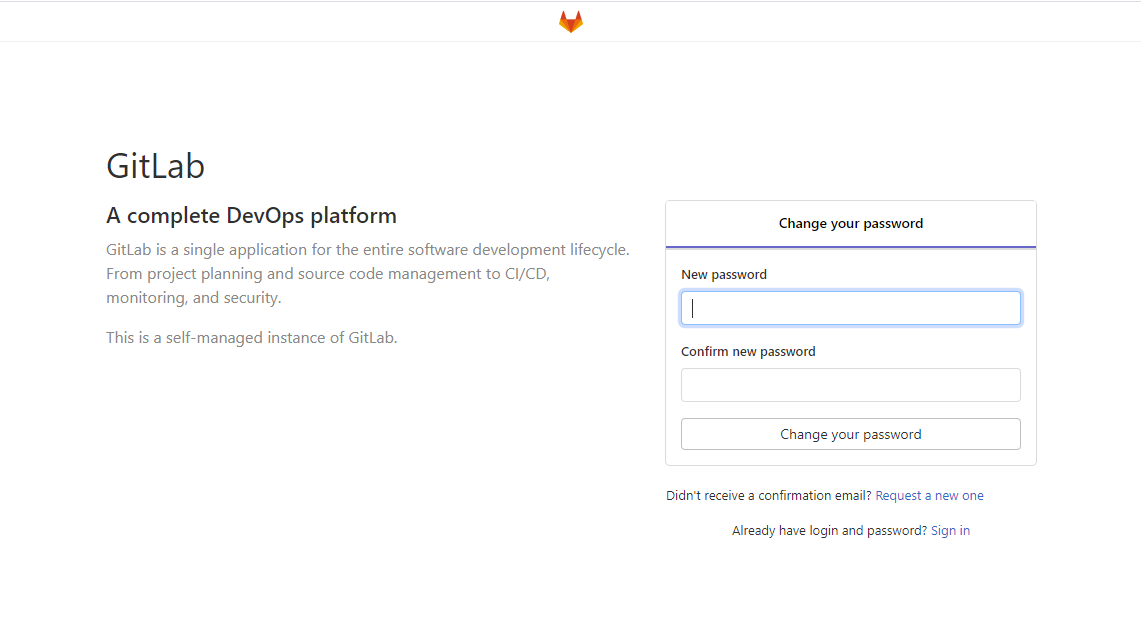
第一次登录会让你 修改管理员账号,登录时 账号是:root 密码是你设置
使用 进入主界面
去创建一个组:

如果 要关闭Gitlab的话,直接使用 (最好以 管理员身份操作)
# 关闭gitlab
> gitlab-ctl stop
一切跑起来了,当然,英文看起来不舒服,切换中文版
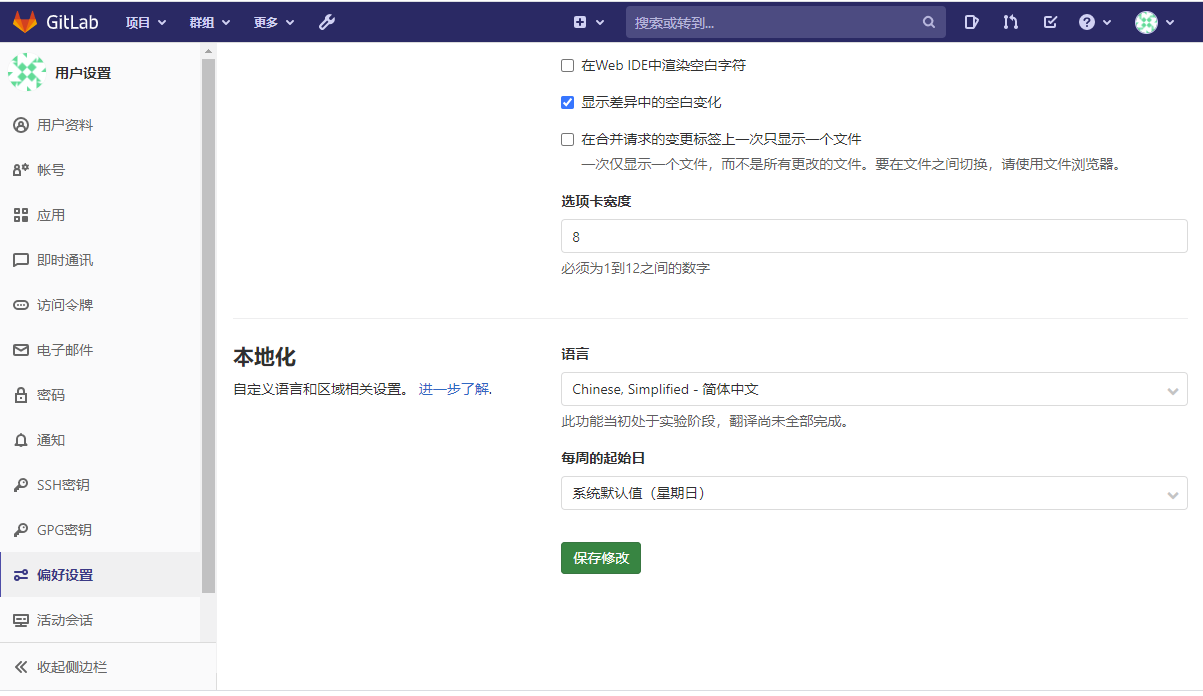
中文语言切换
首先,gitlab 12版本之后 支持切换语言,相比较于英文切换,更加准确。
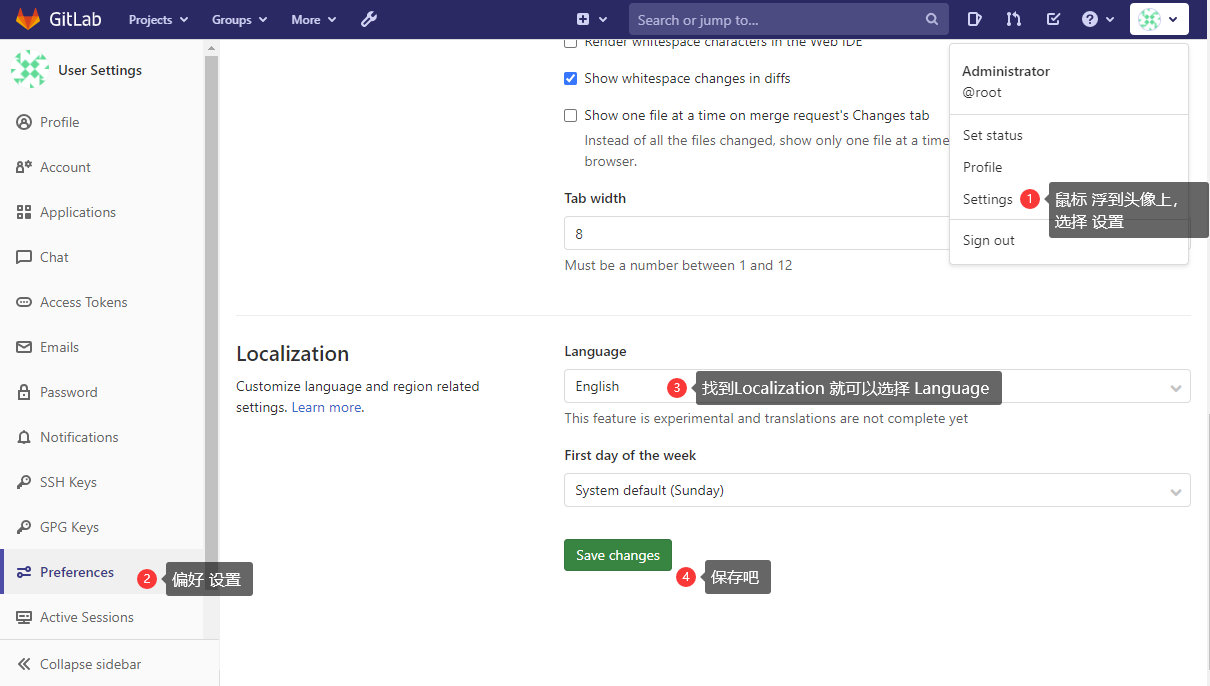
设置好,刷新页面,搞定。
好了 一切部署好了,就开始
开启自启动
# 禁止 Gitlab 开机自启动
> systemctl disable gitlab-runsvdir.service

# 启用 Gitlab 开机自启动
> enable gitlab-runsvdir.service
找回管理员密码
进入gitlab 控制台 (不同安装,会有不同的进入方法,请查看gitlab官方解释)
sudo gitlab-rails console
进入后,执行命令
# 查看账号
> user = User.where(id: 1).first  可以查到账号是多少

# 输入新密码
> user.password = '新abc123456'

# 确认新密码,有些不需要执行此命令
> user.password_confirmation = 'abc123456'

# 保存密码
> user.save!

# 退出控制台
> exit
完成!!!
代码仓库使用
创建仓库
删除仓库
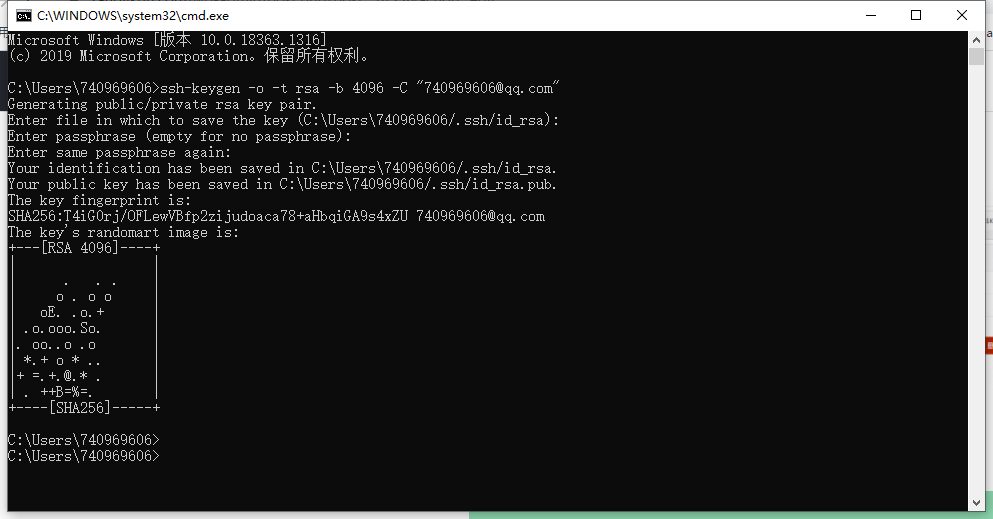
开启gitlab 的SSH 连接
CMD 输入: ssh-keygen -o -t rsa -b 4096 -C "你随便输入的内容,我输入的是我邮箱"
ssh-keygen -o -t rsa -b 4096 -C "740969606@qq.com"直接全部回车吧。
然后 进入你 C:\Users\你windows当前用户/.ssh/ 找到 id_rsa.pub
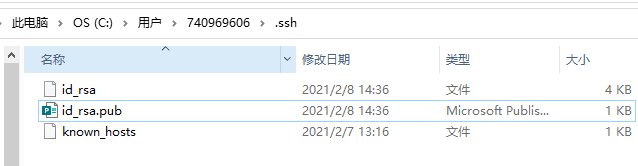
记事本打开,不要换行里面的文字,复制
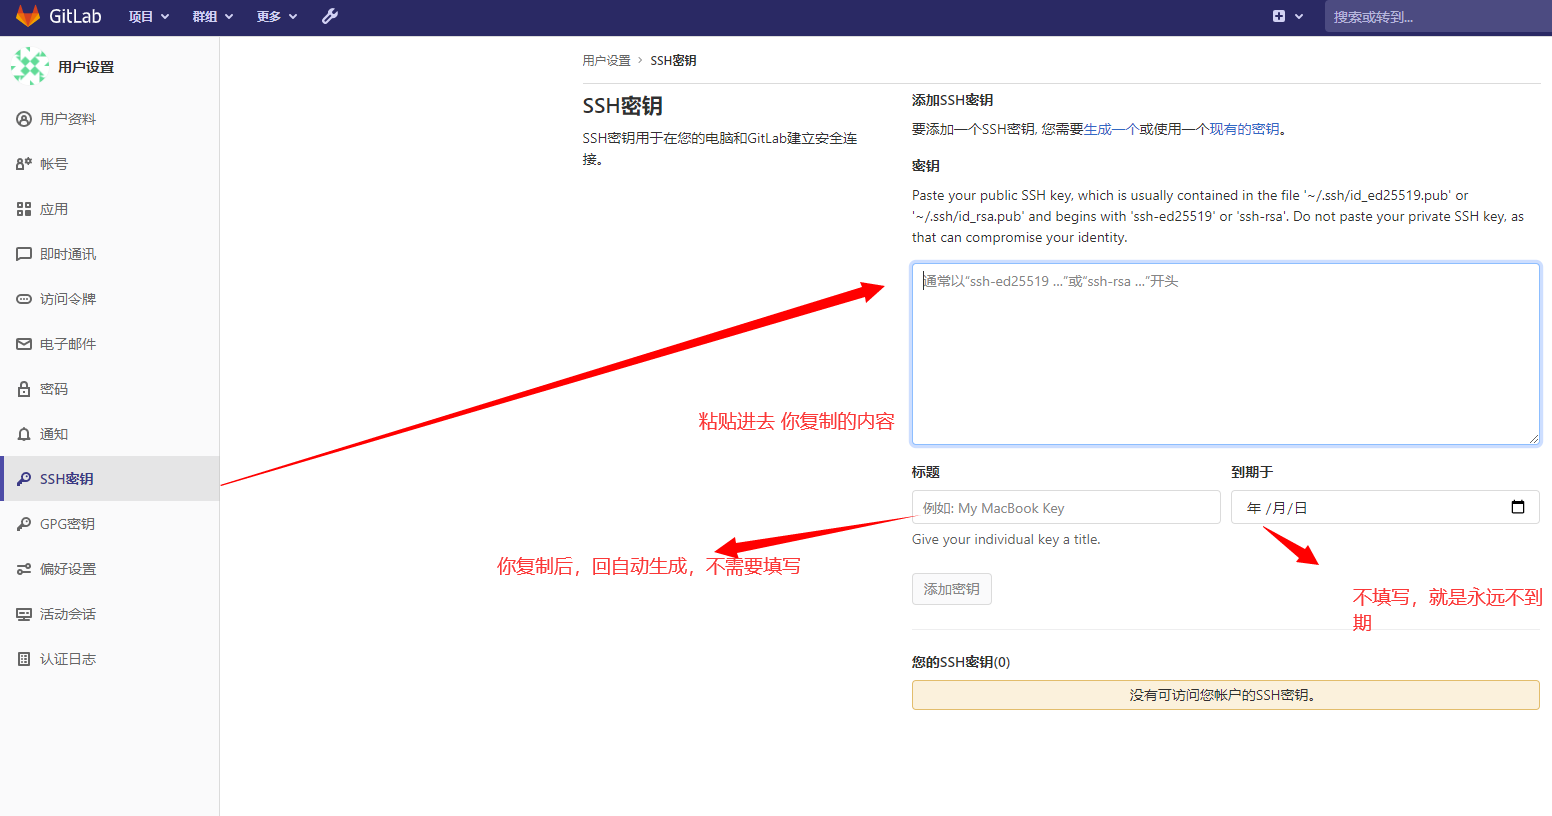
就算添加完成了。添加完成后,你就可以查看你自己的SSH 密钥信息

完成了,我们就可以提交代码了。
提交代码
本地 安装 git 环境 (分为场景1、场景2)
场景1、已经建立过远程连接了
# 查看当前远程连接信息
> git remote -v

断开远程连接
方式一:修改远程仓库地址
【git remote set-url origin URL】 更换远程仓库地址,URL为新地址。

方式二:先删除远程仓库地址,然后再添加
【git remote rm origin】 删除现有远程仓库
【git remote add origin url】添加新远程仓库

# 删除后,再看一下连接信息 ,确保没有连接信息了,再建立远程连接。
> git remote -v

# 建立远程连接
> git remote
> git remote add master https://github.com/paulboone/ticgit

# 再次确认连接信息 已经连接到新地址
> git remote -v
场景2、没有git连接的新文档
创建本地仓库
git init
第三方平台不会及时更新本文最新内容。如果发现本文资料不全,可访问本人的Java博客搜索:标题关键字。以获取最新全部资料 ❤
评论(0)